前言
之前一直忙着工作的业务代码,Perfect系列的文章有段时间没有更新了。Perfect-CRUD也是最近才对外公布的一套ORM组件,支持sqlite、MySQL、Postgres,在这之前一直都是用自己的Perfect-FFDB,看了下Perfect-CRUD的文档之后,感觉还不错,这两天抽时间把之前用Perfect写的一个小项目,从自己的Perfect-FFDB迁移到使用Perfect-CRUD上,有点扯远了。。还是说回推送吧。
正文
当iOS app要使用远程推送的时候,经常会选接入一些第三方平台的消息推送服务,下面就是讲怎么通过Perfect自己搭消息推送服务。
Perfect已经提供了现成的组件Perfect-Notifications可以让我们快速的实现消息推送,所以在这之前,先把去准备好推送证书。
-
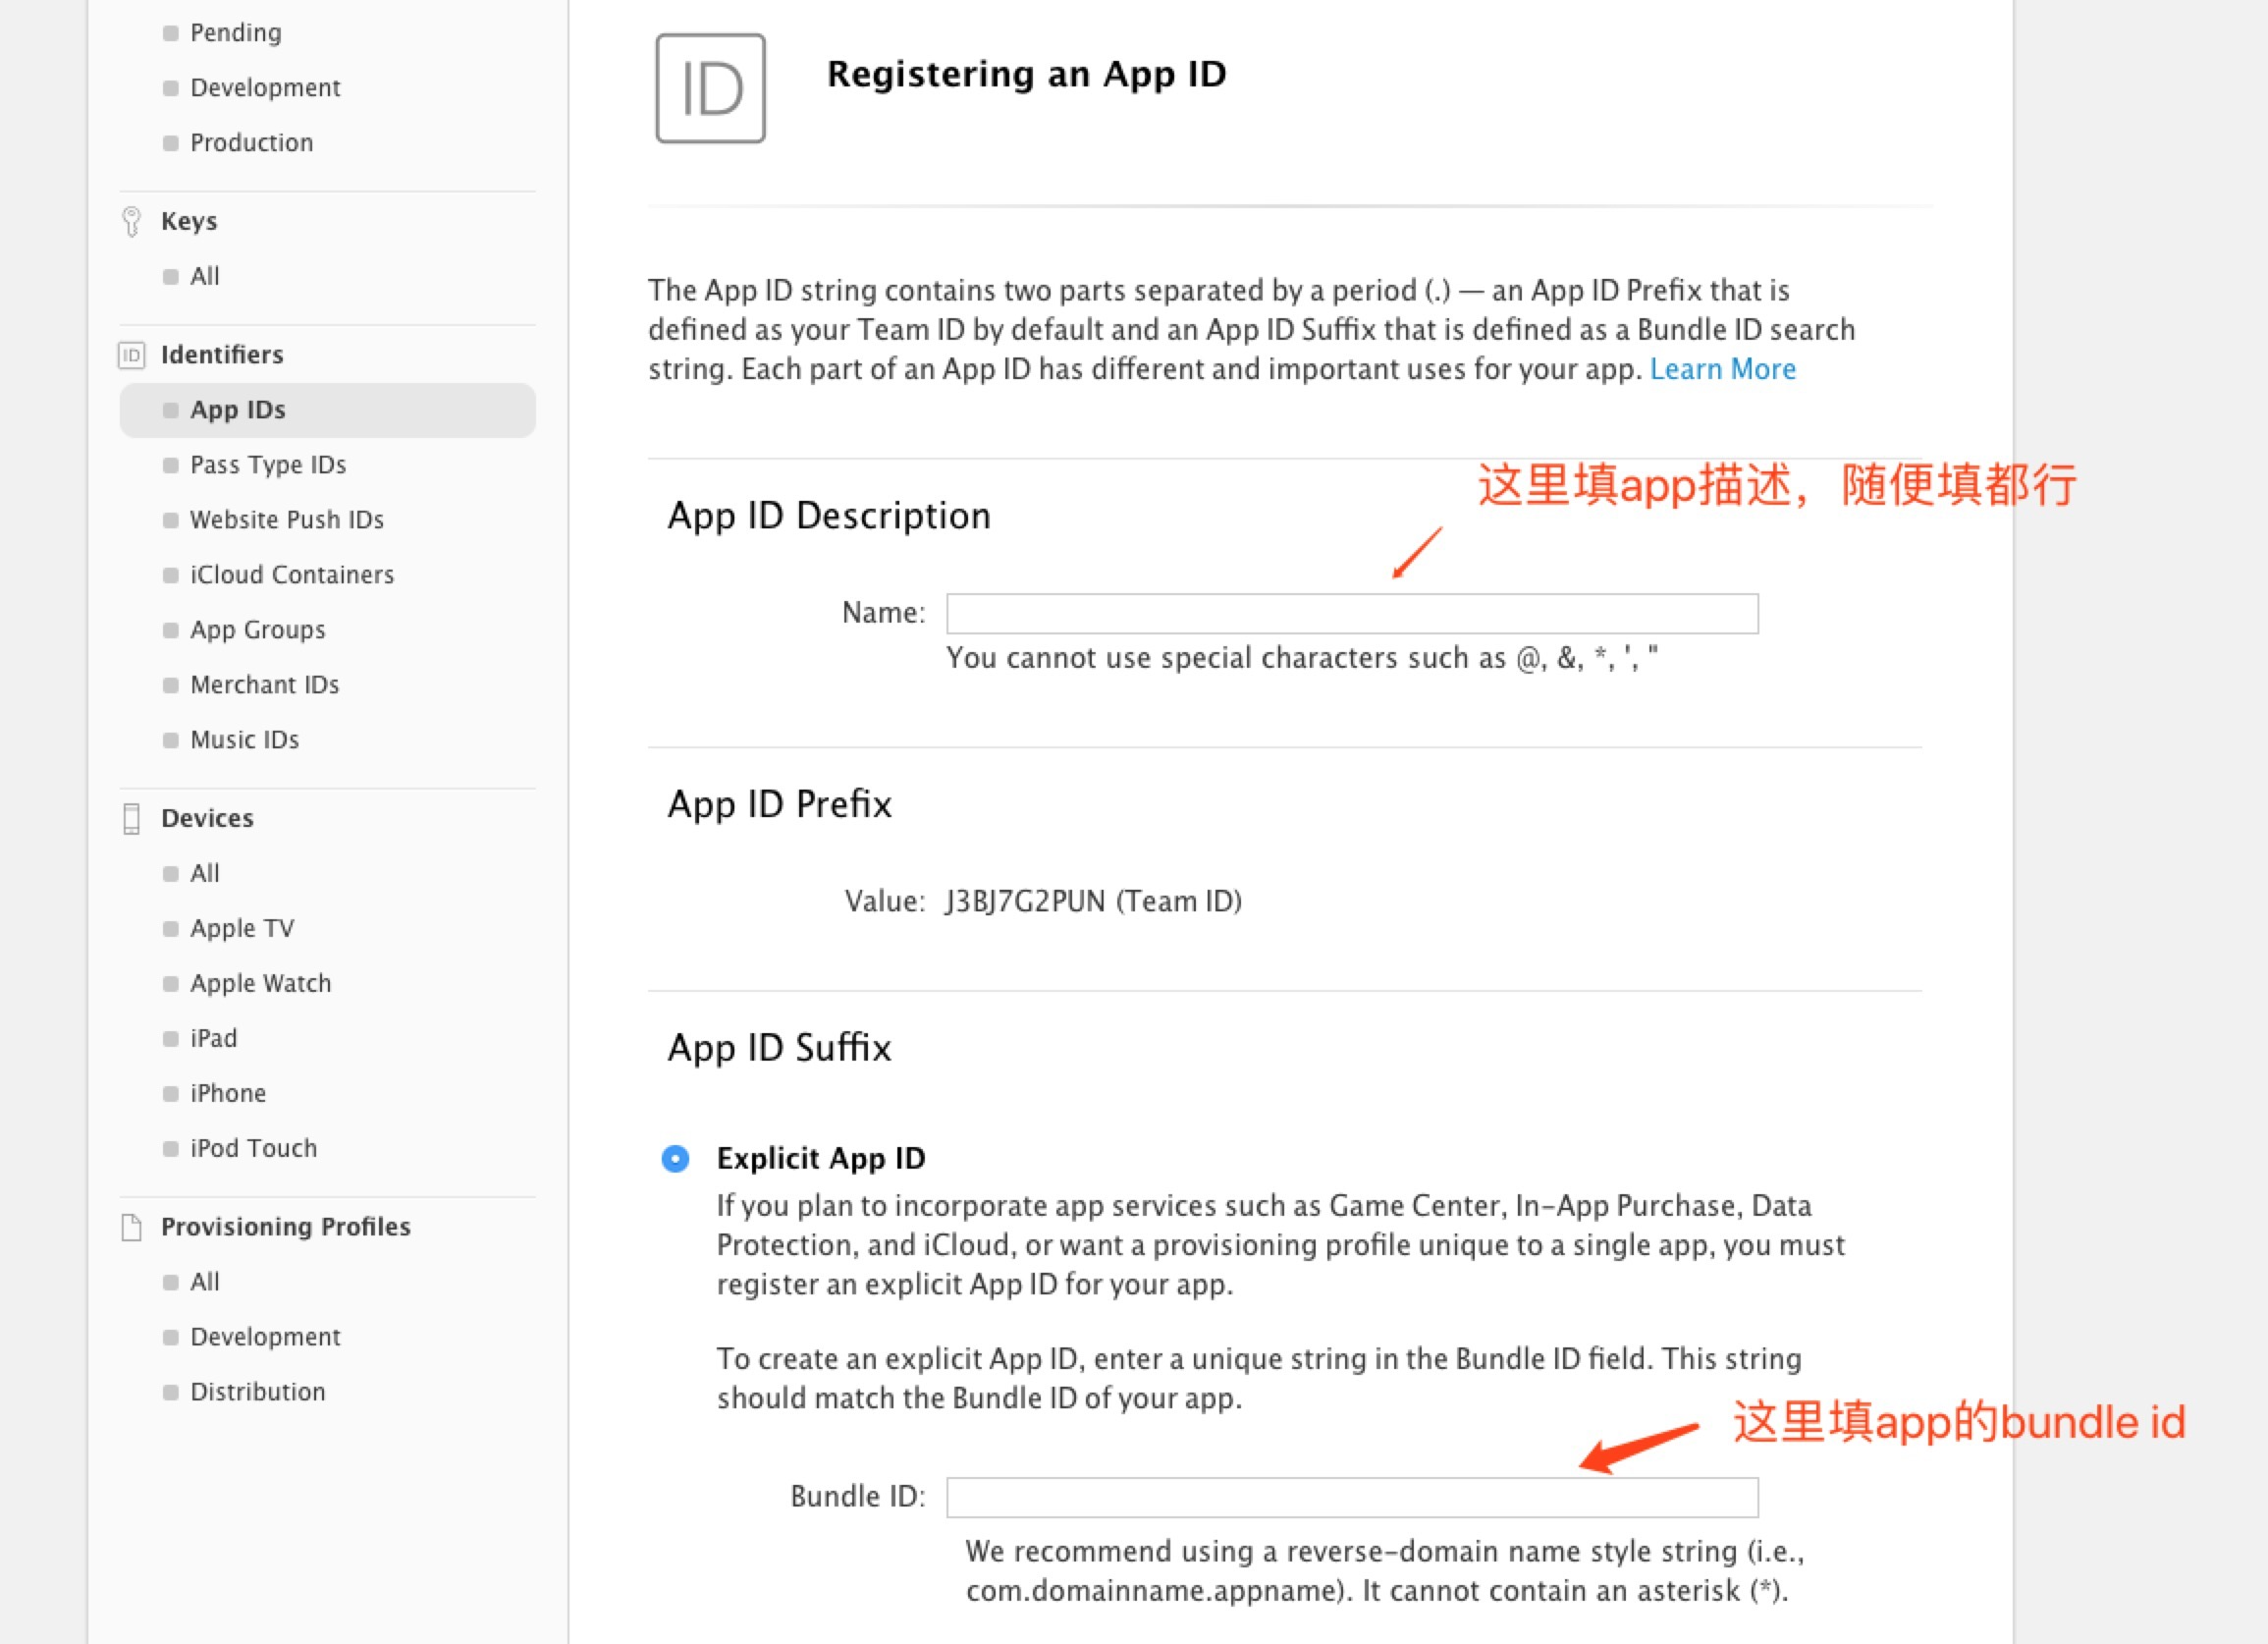
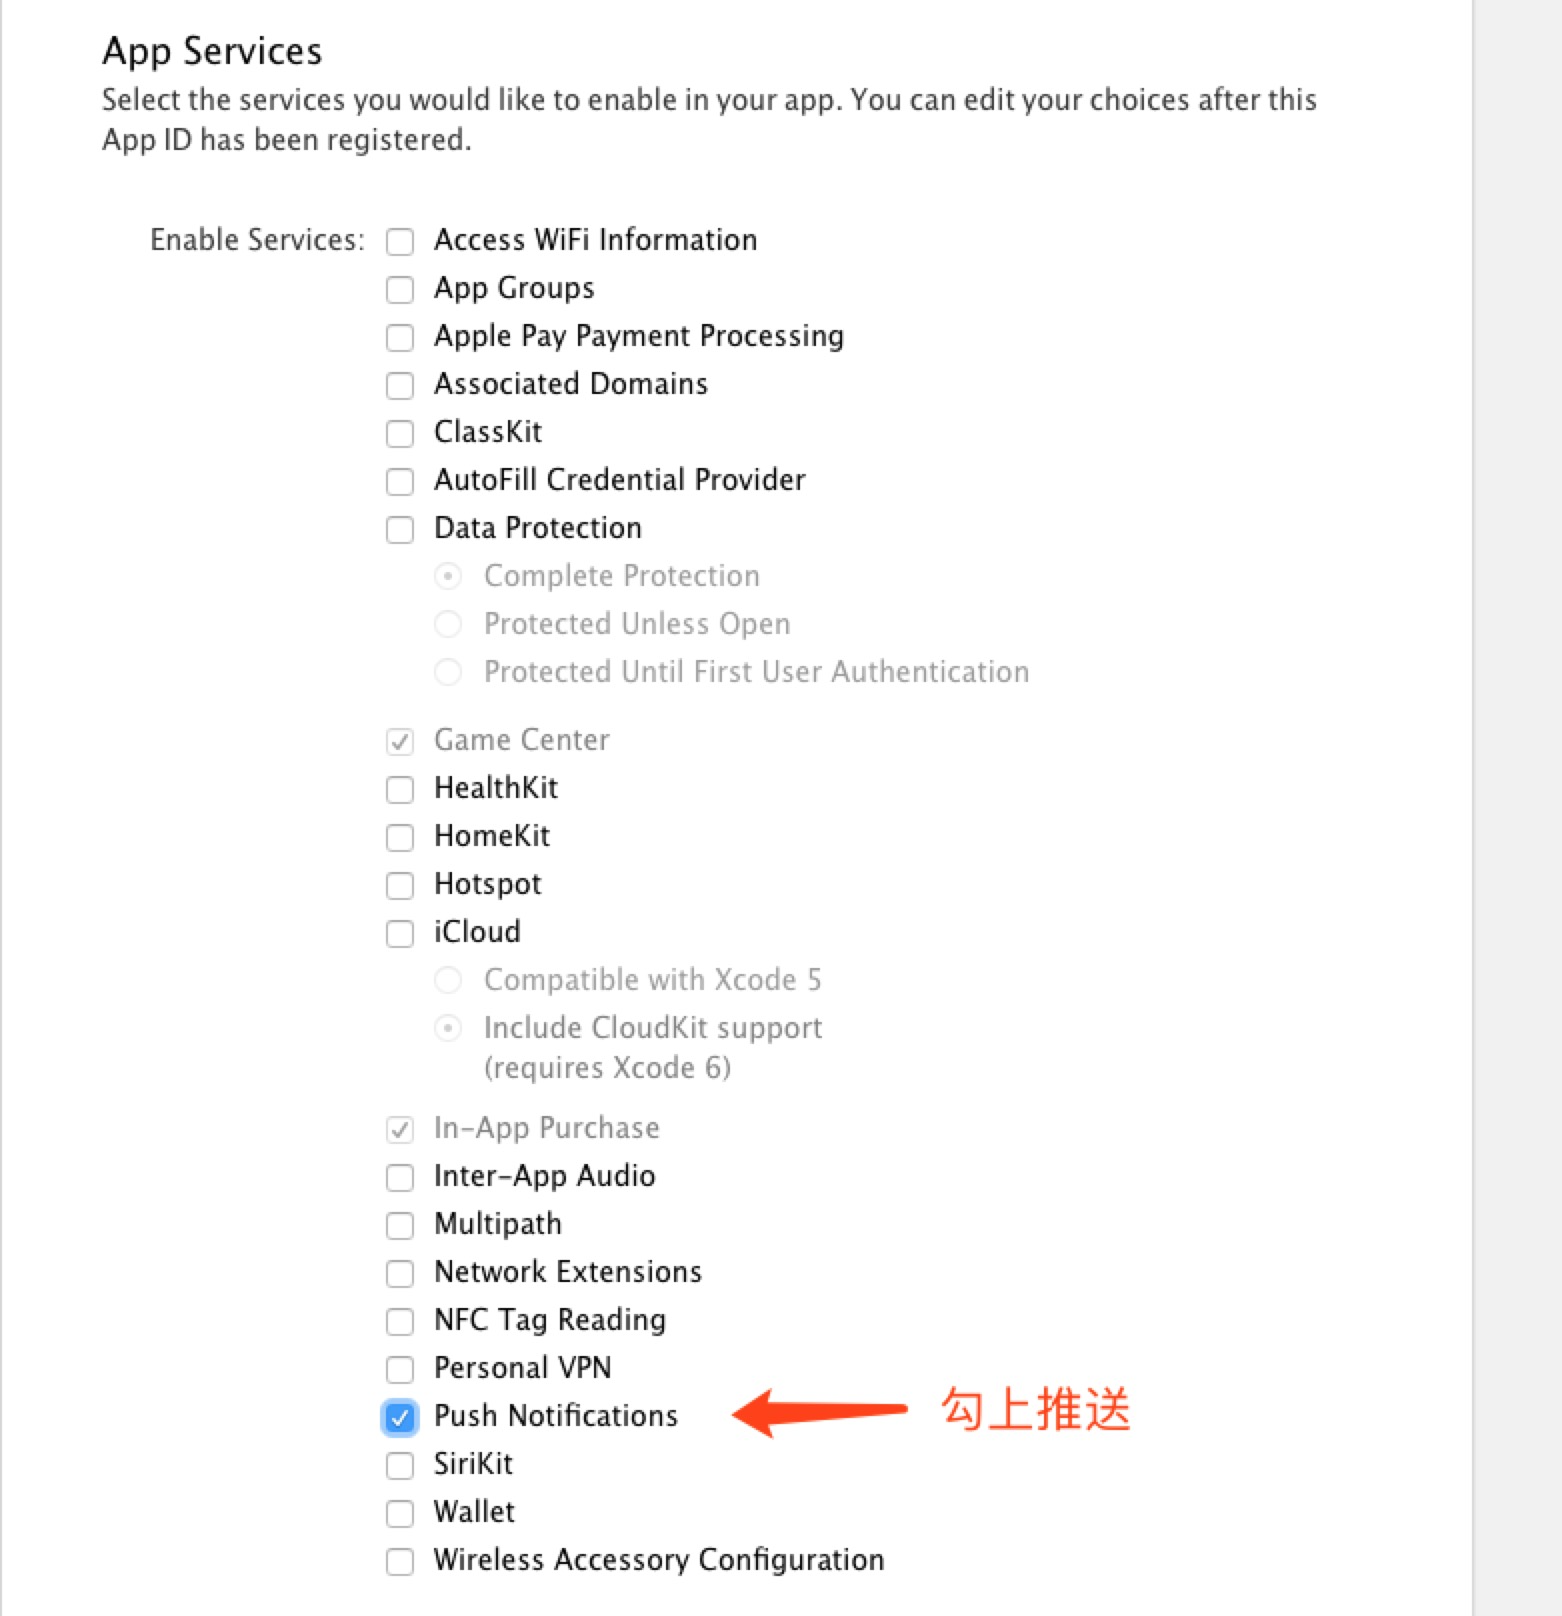
如果没创建app id,先去把app id创建好
-
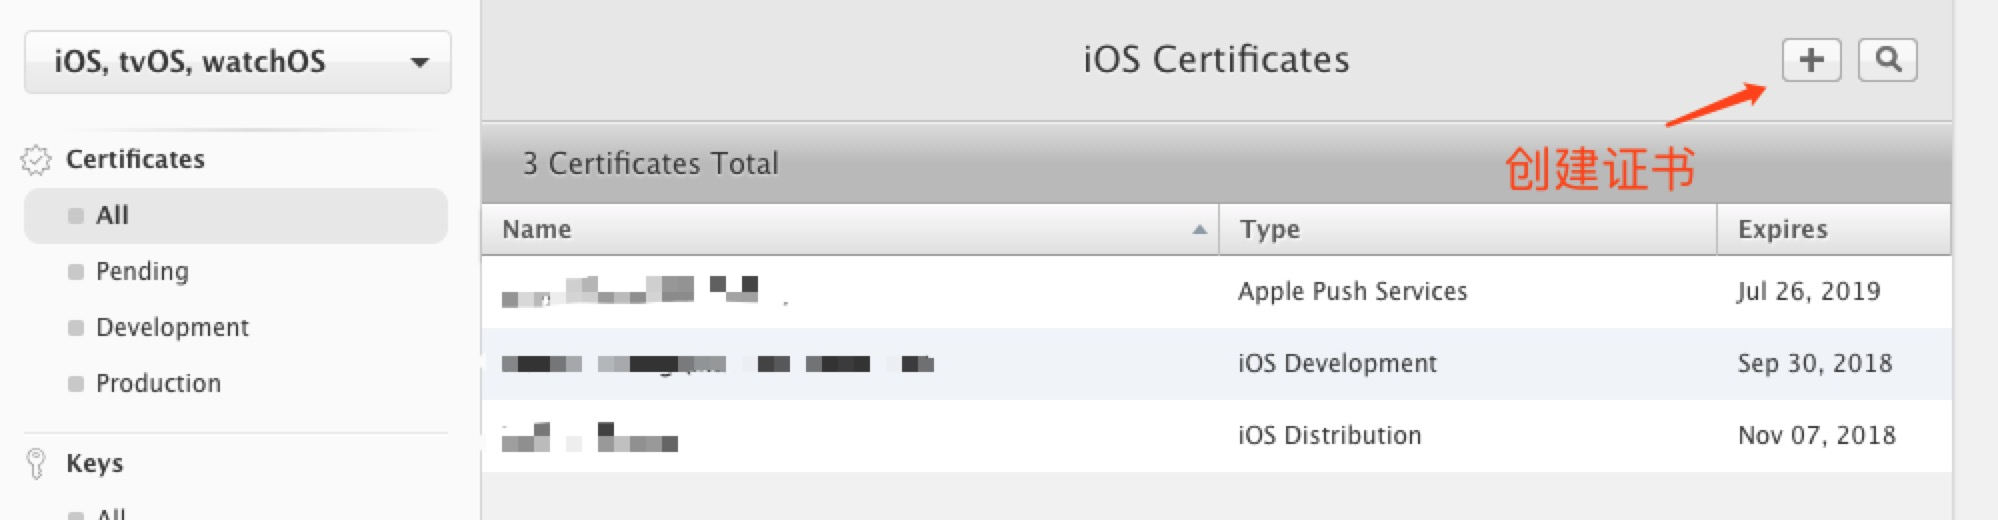
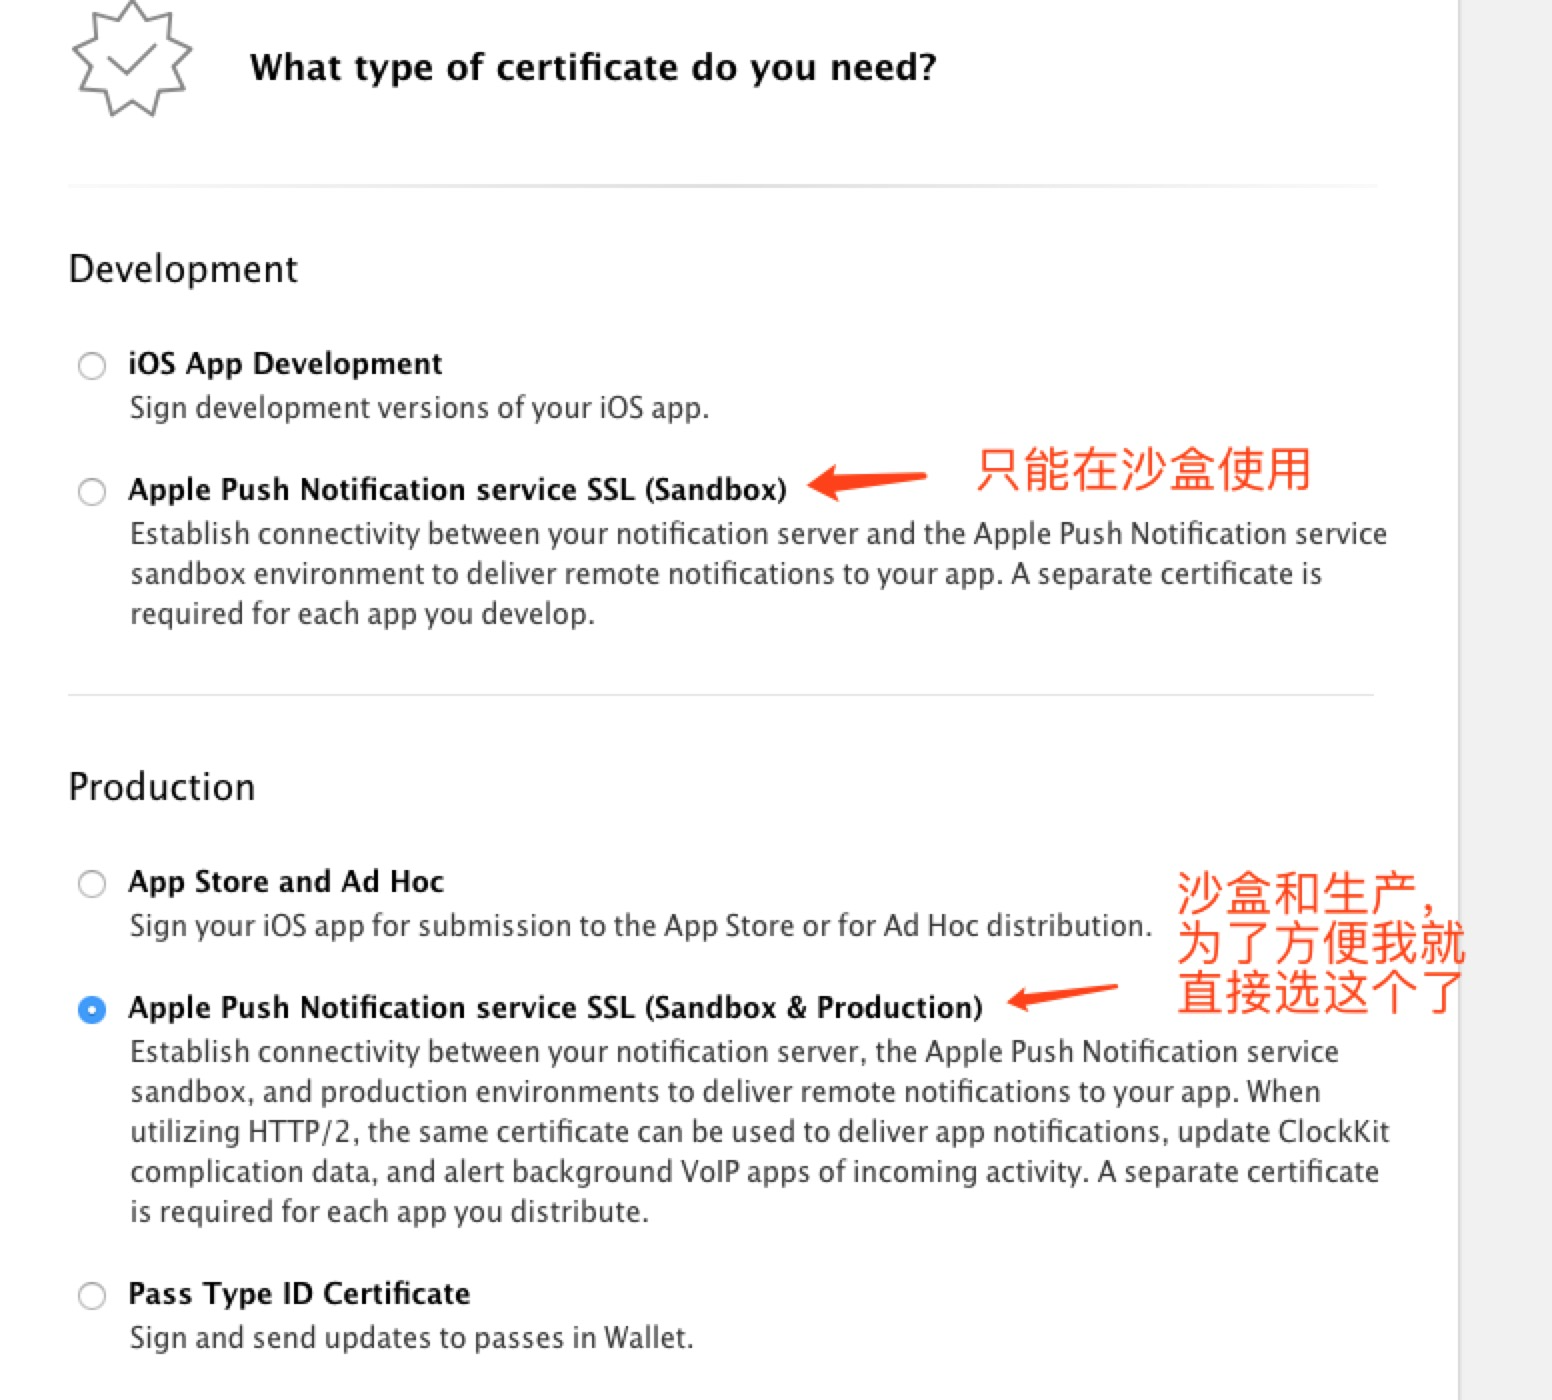
创建推送证书
-
然后下一步,选择刚刚对应创建的app id
-
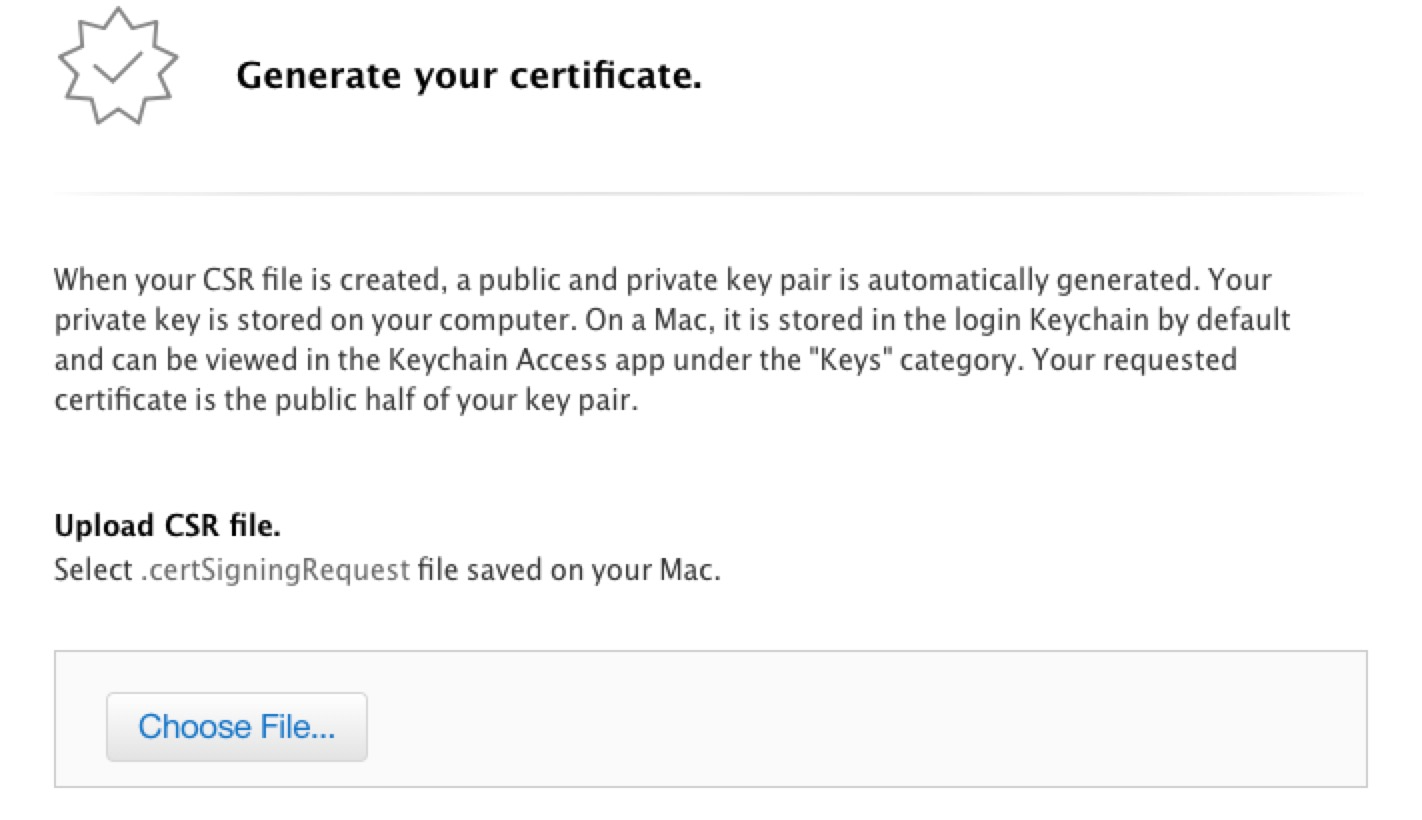
到了这步之后需要在自己电脑上创建CSR文件
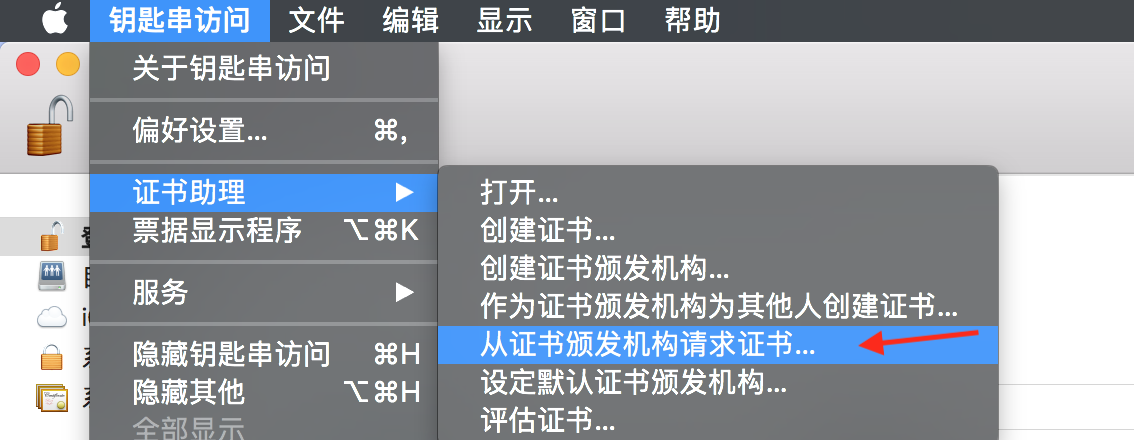
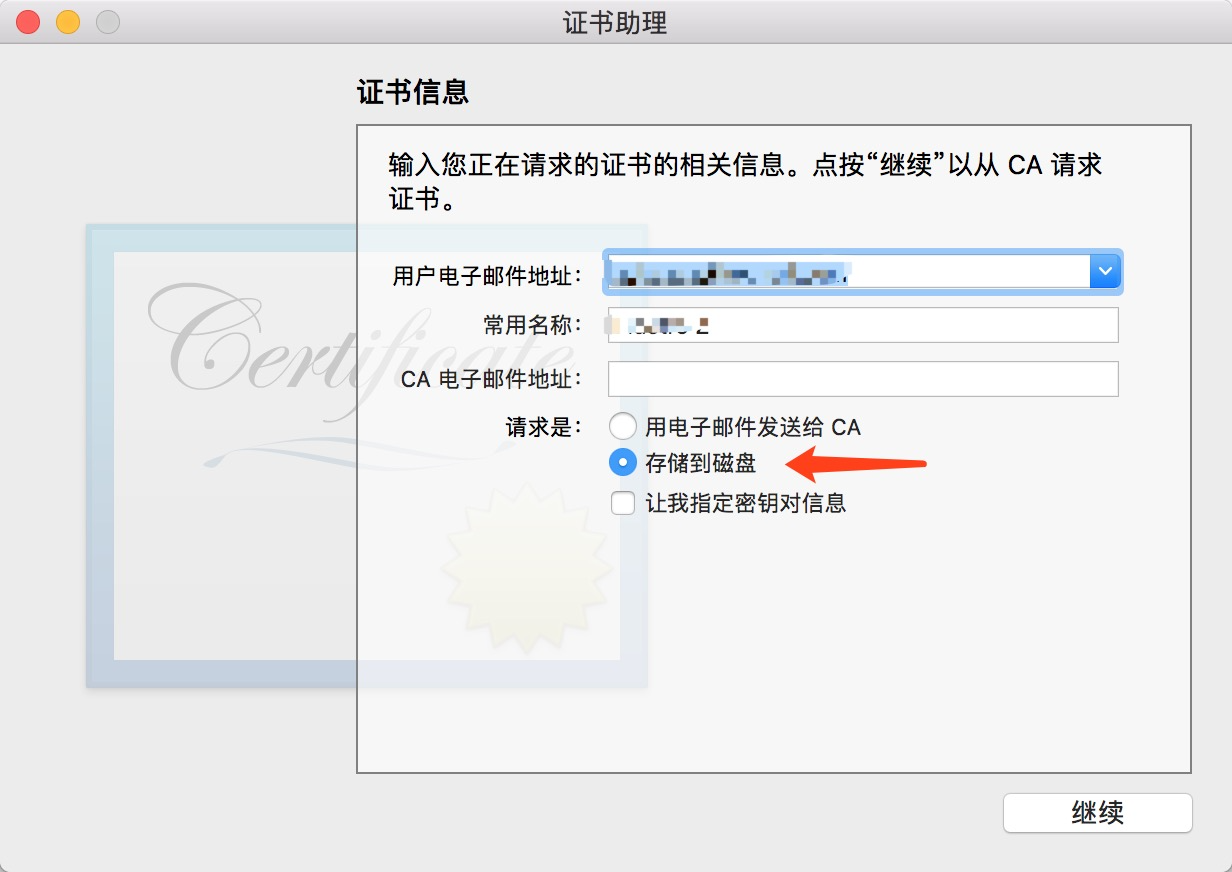
-
选择刚刚创建的证书,然后下一步,下载下来
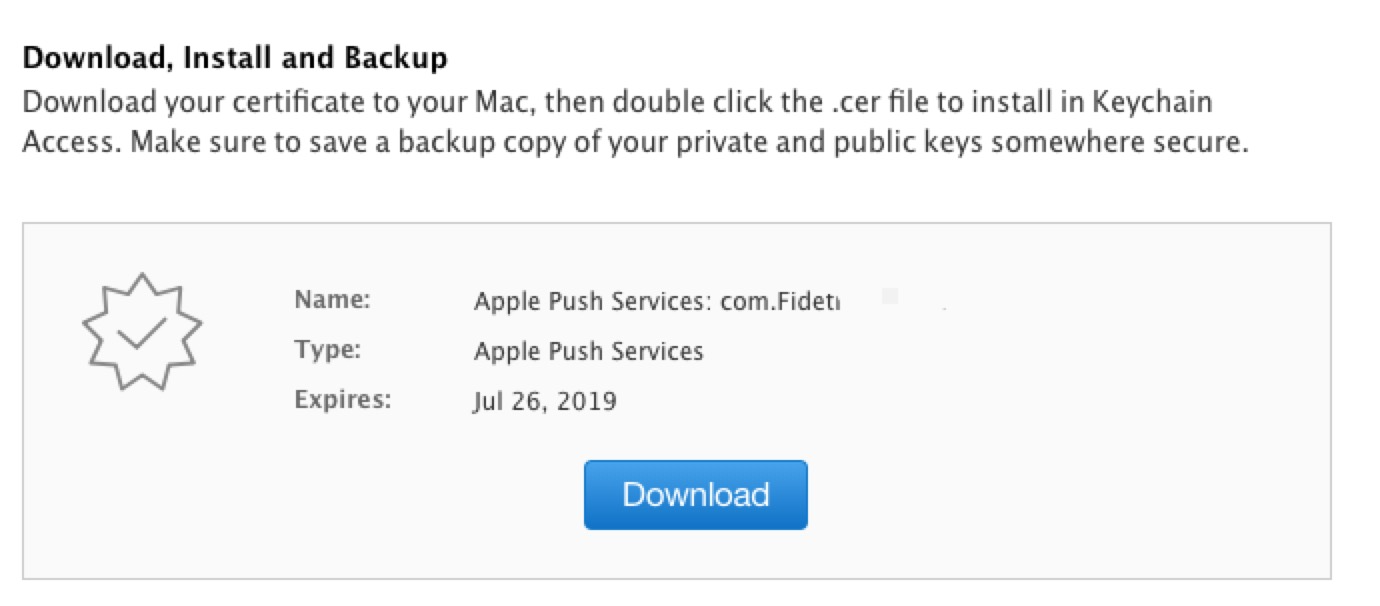
-
双击打开刚刚下载下来的证书,进入钥匙串访问,导出秘钥
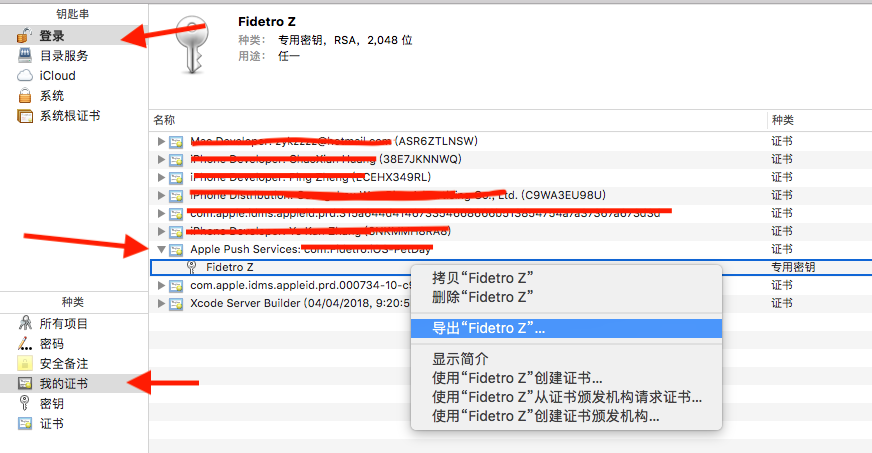
-
创建auth key和记录key id(后面要用),下载下来会得到一个xx.p8的文件
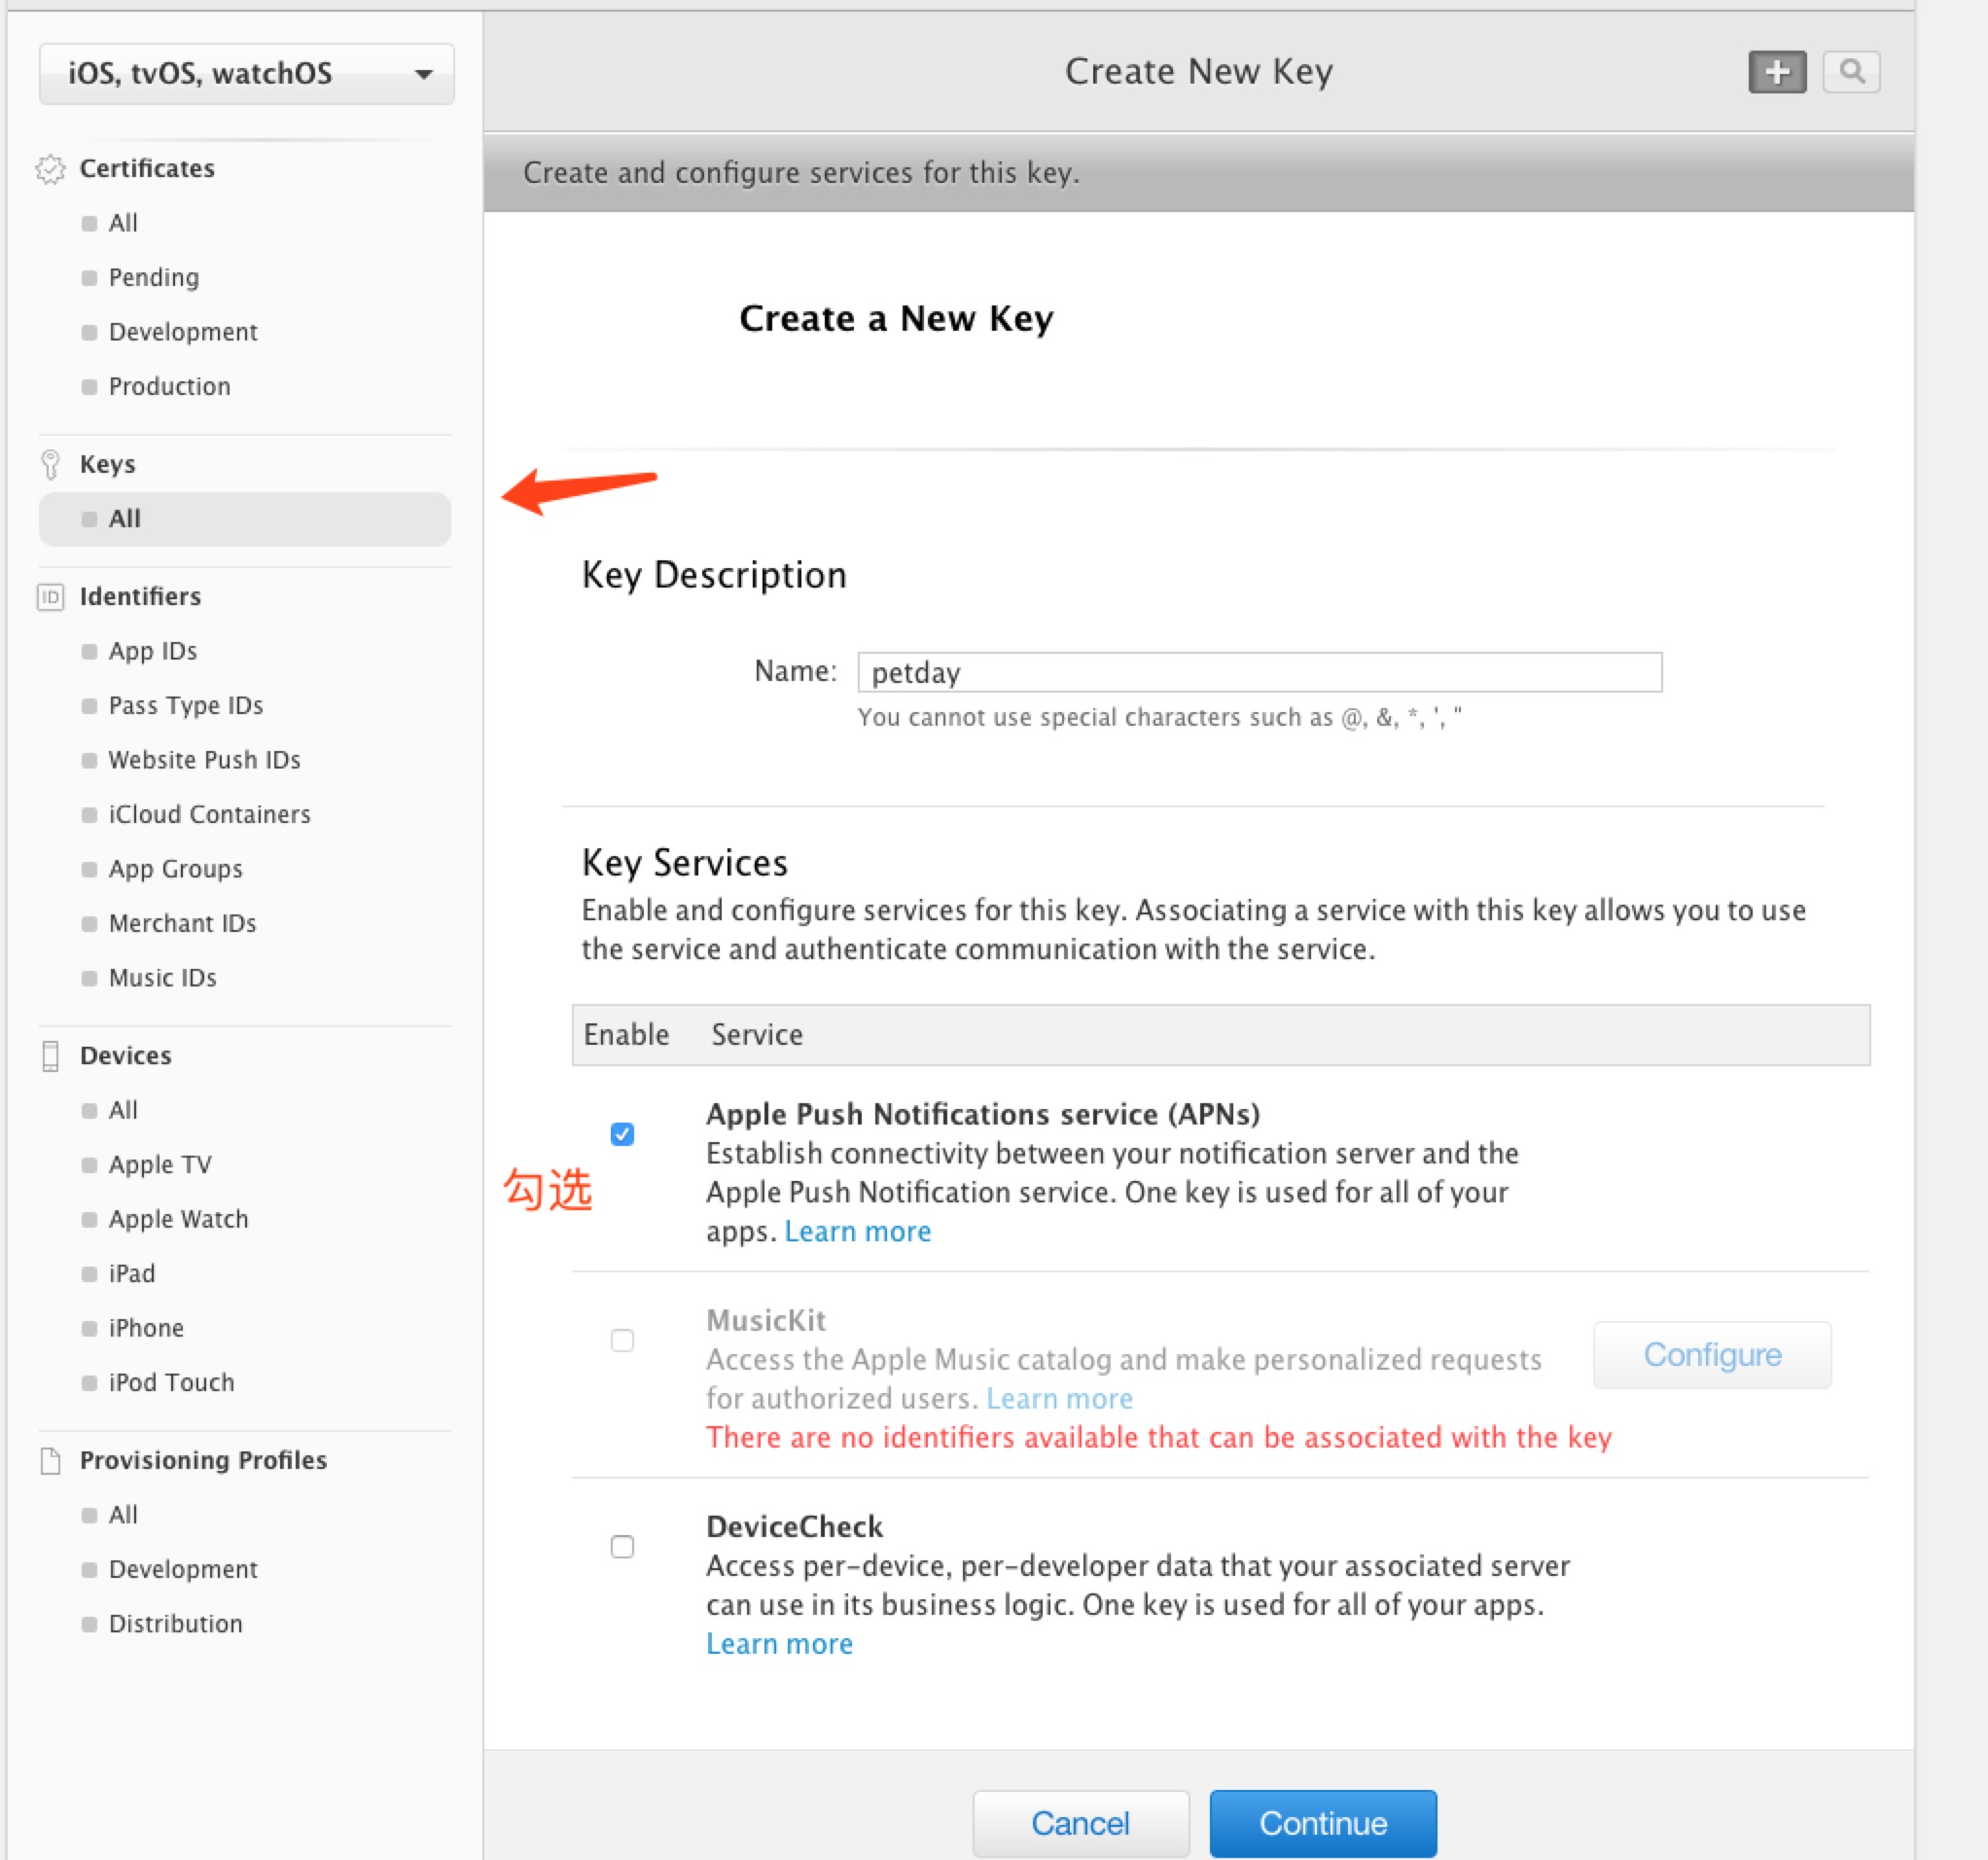
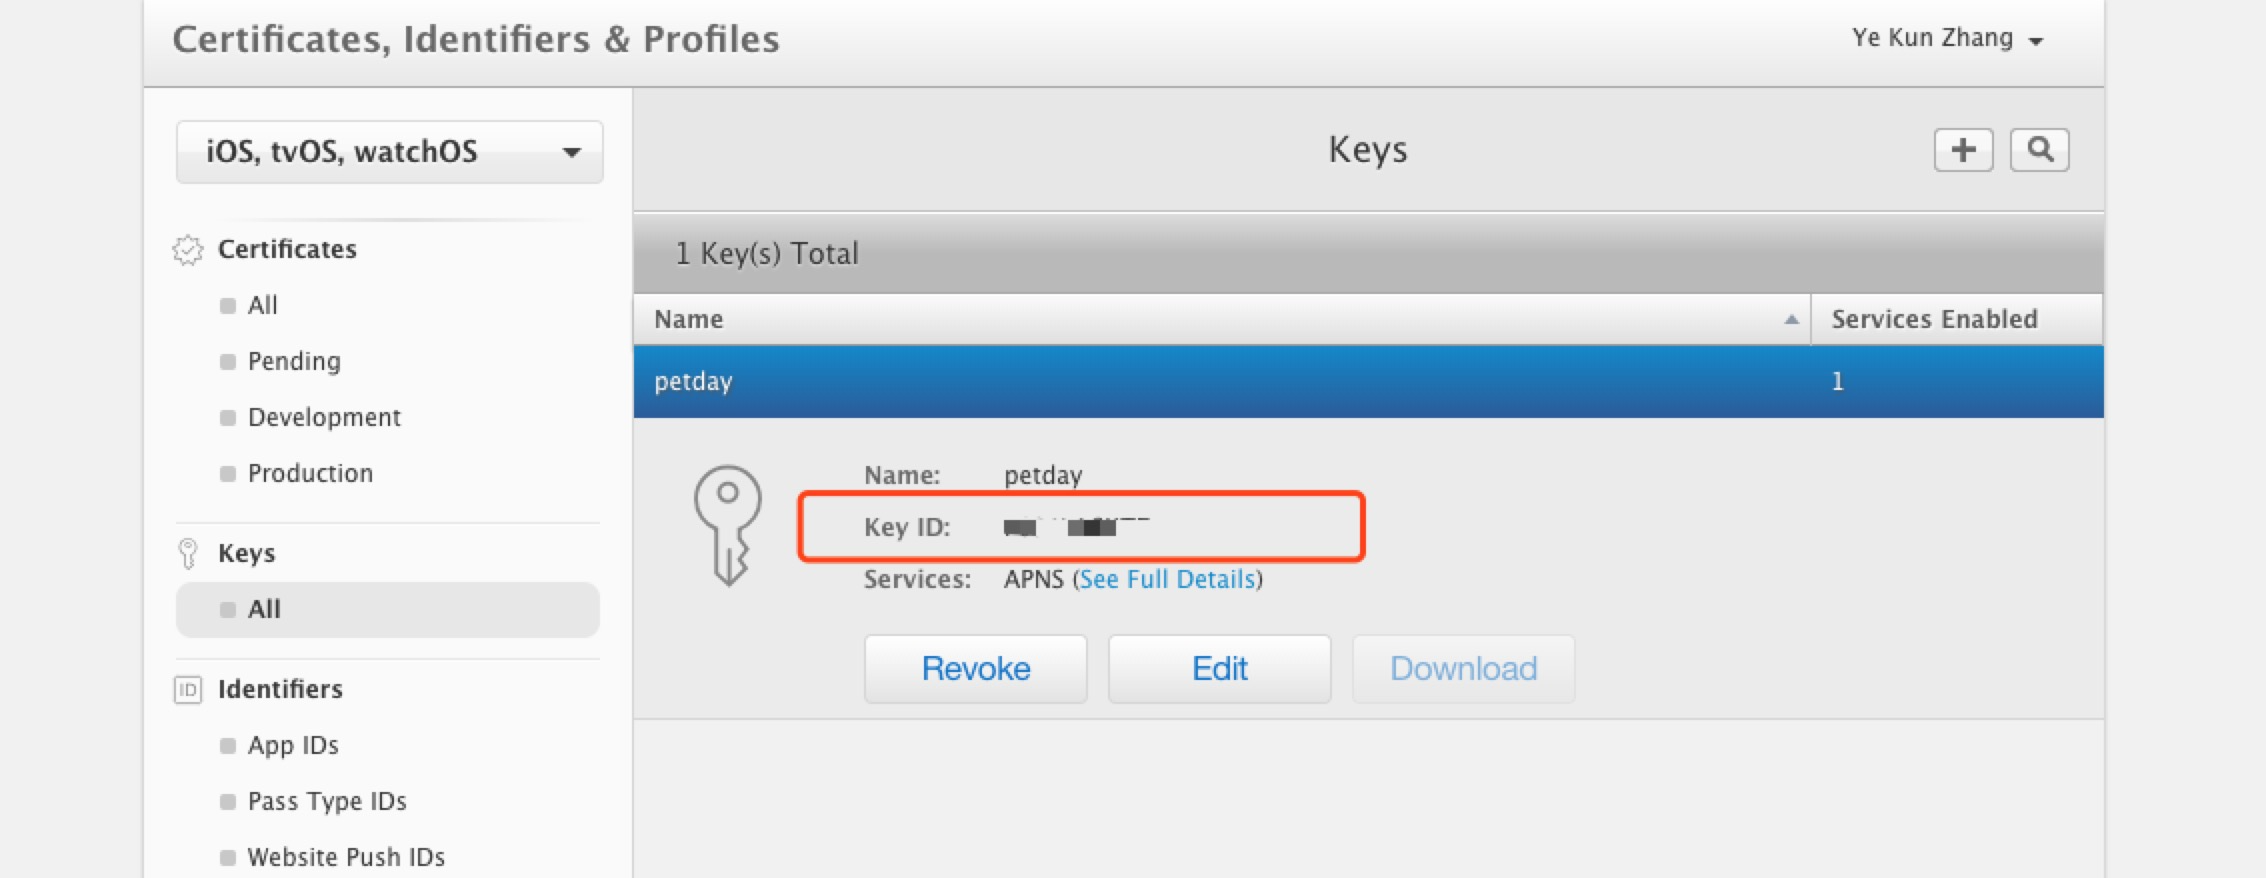
-
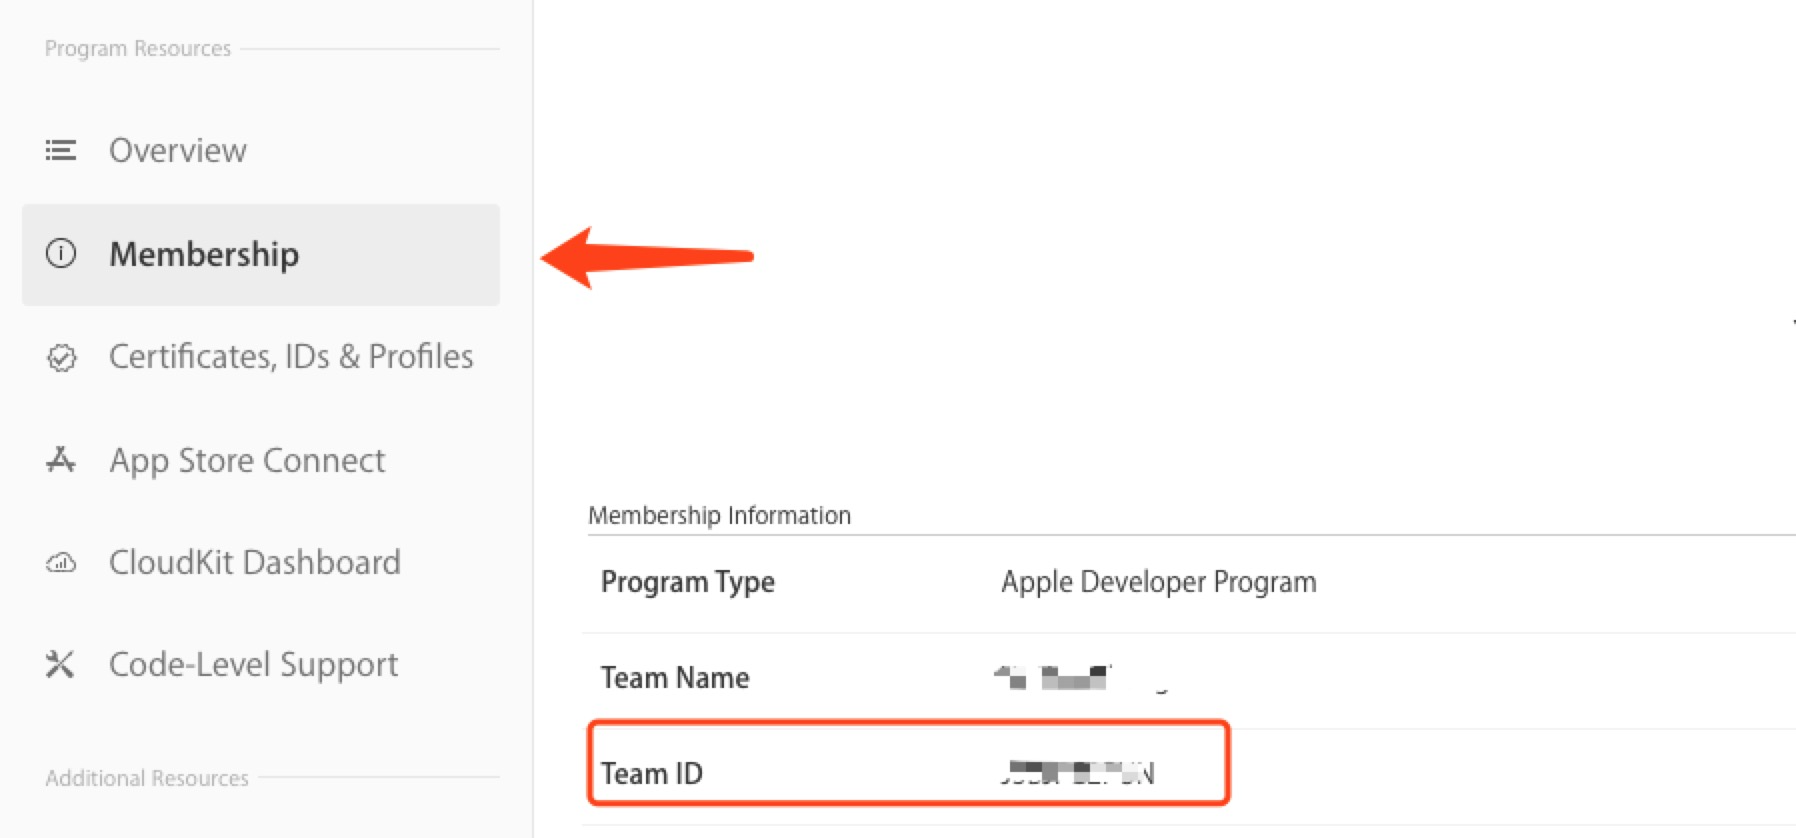
去Account页面记录team id(后面要用)
好了。。终于把前面的准备工作做好了,在Package.swift中引入
.Package(url:"https://github.com/PerfectlySoft/Perfect-Notifications.git", majorVersion: 3)
配置推送设置:
    //app的bundle id
    let notificationsAppId = "com.Fidetro.iOS-PetDay"
    //auth key id
    let apnsKeyIdentifier = "F6S4LA6KT7"
    //开发者账号的team id
    let apnsTeamIdentifier = "J3BJ7G2PUN"
    //auth key
    let apnsPrivateKeyFilePath = "./AuthKey_F6S4LA6KT7.p8"


    NotificationPusher.addConfigurationAPNS(
        name: notificationsAppId,
        production: false, // should be false when running pre-release app in debugger
        keyId: apnsKeyIdentifier,
        teamId: apnsTeamIdentifier,
        privateKeyPath: apnsPrivateKeyFilePath)

    NotificationPusher.development = true // 打开APNS沙箱服务器开关
在需要推送的地方写上:
let deviceIds: [String] = ["xxx"]//需要推送的deviceId
let n = NotificationPusher(apnsTopic: notificationsAppId)
n.pushAPNS(
configurationName: notificationsAppId,
deviceTokens: deviceIds,
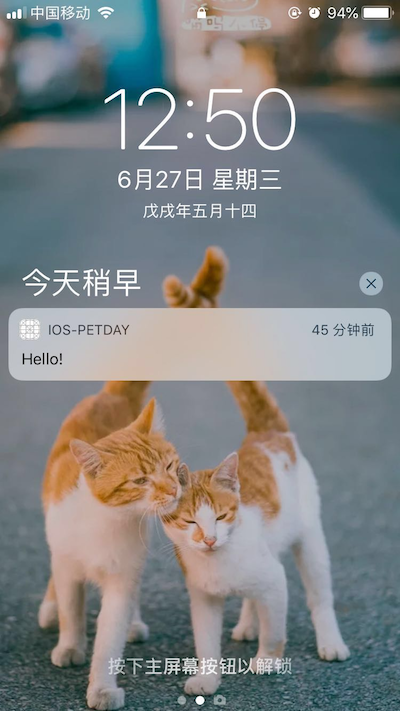
notificationItems: [.alertBody("Hello!"), .sound("default")]) {
responses in
print("\(responses)")
}
-
接下来在iOS的app上打开消息推送选项:
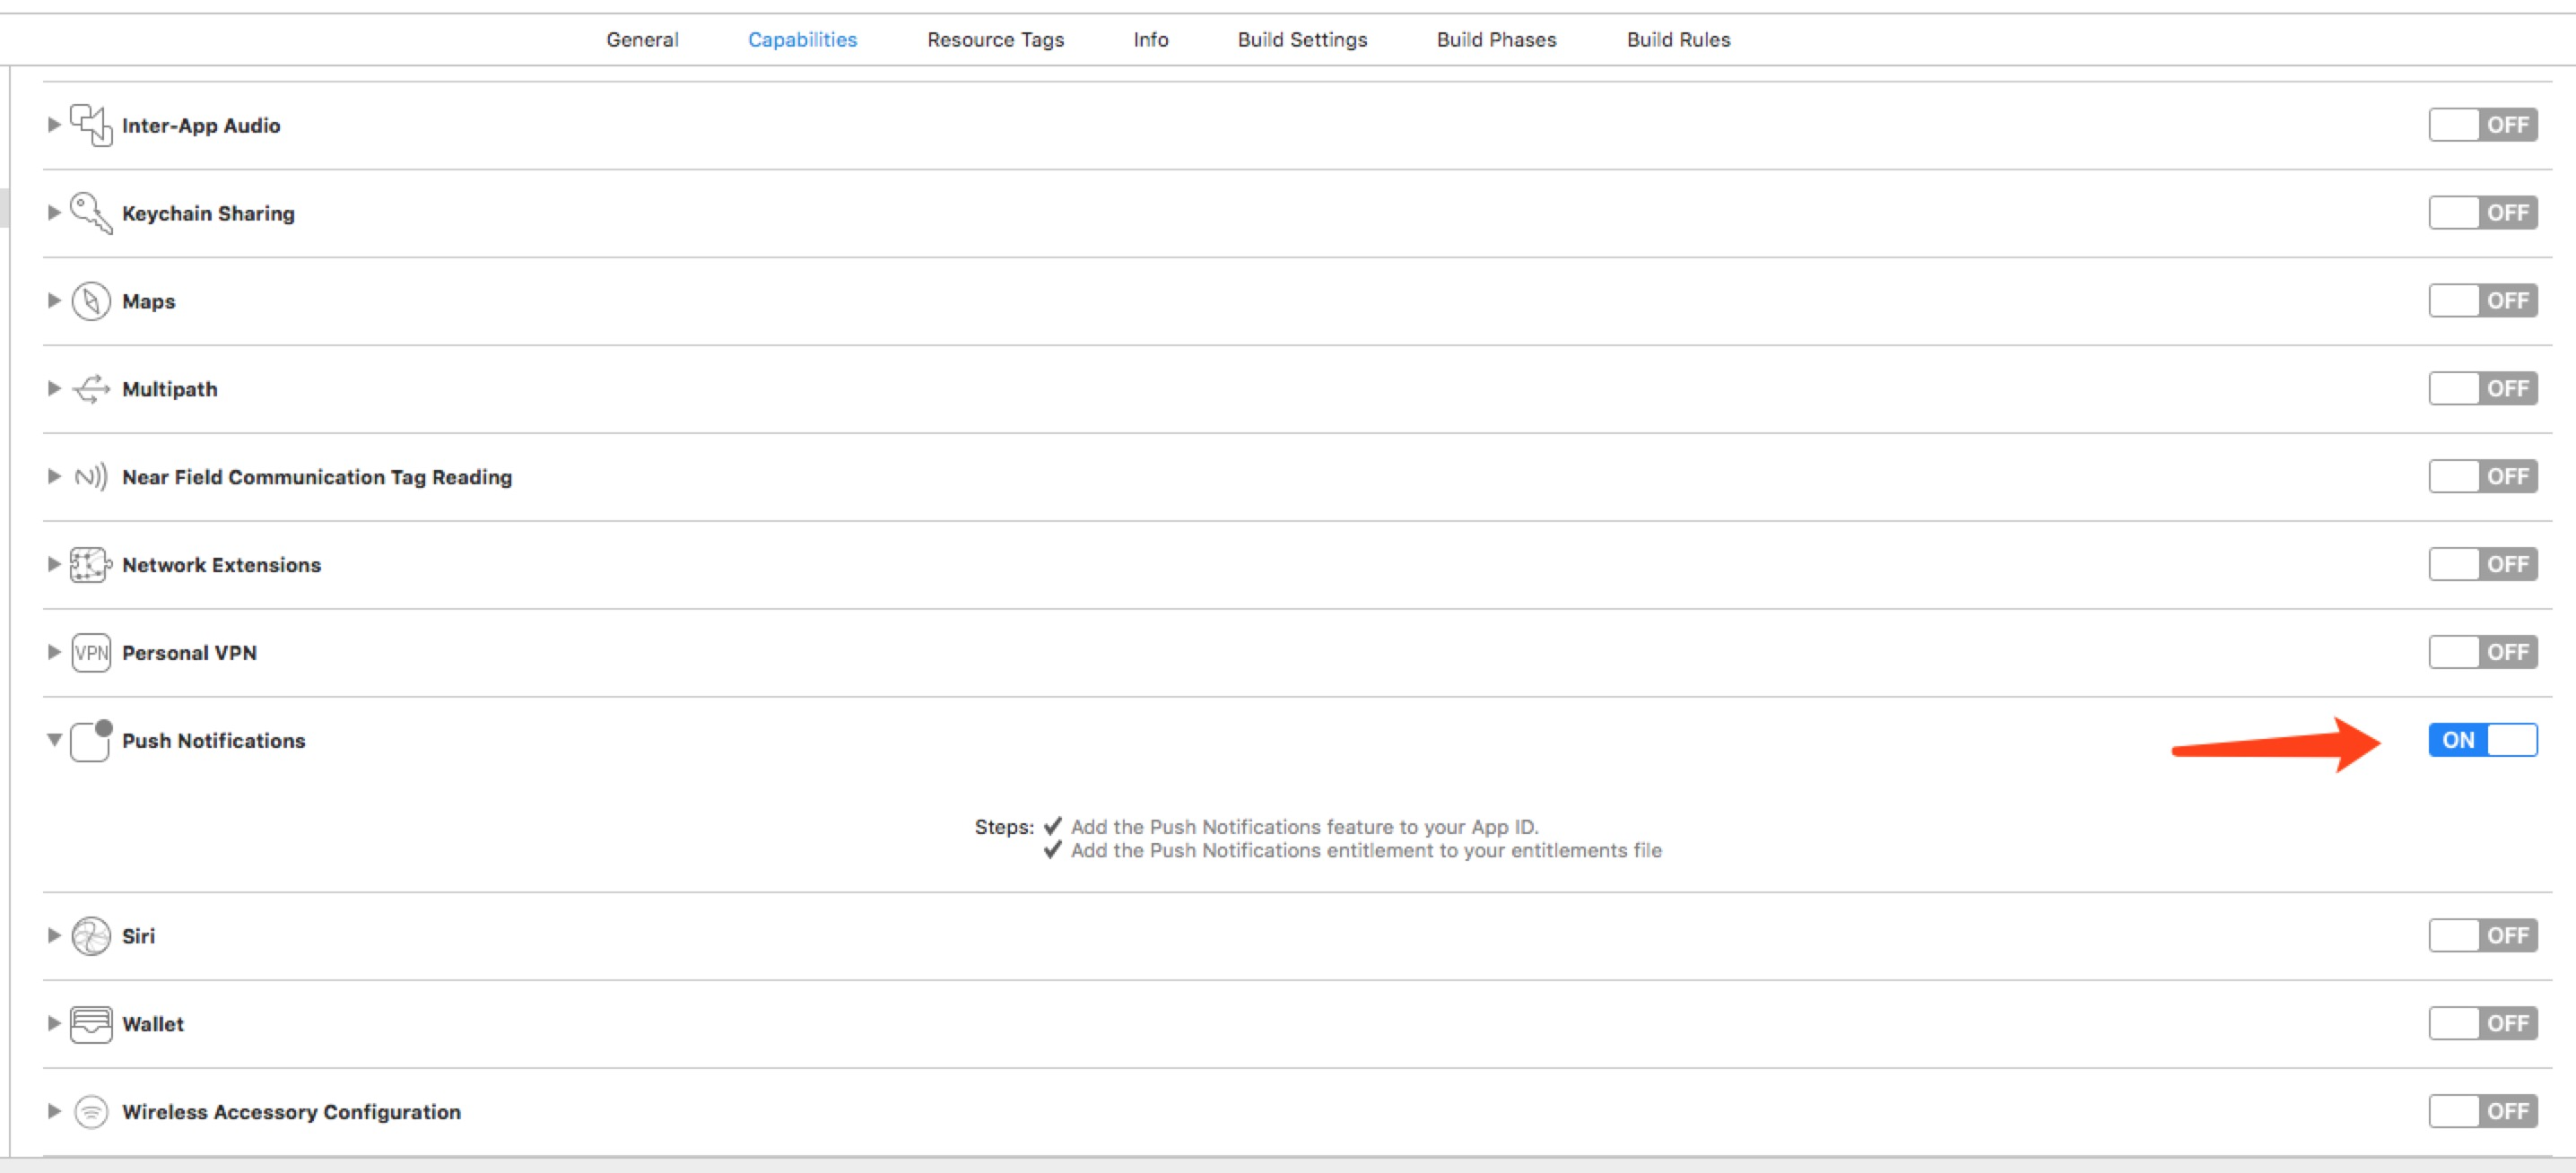
- 在Appdelegate请求权限
func application(_ application: UIApplication, didFinishLaunchingWithOptions launchOptions: [UIApplicationLaunchOptionsKey: Any]?) -> Bool { let center = UNUserNotificationCenter.current() center.requestAuthorization(options:[.badge, .alert, .sound]) { (granted, error) in print(error) } application.registerForRemoteNotifications() return true } - 获取deviceToken
 func application(_ application: UIApplication, didRegisterForRemoteNotificationsWithDeviceToken deviceToken: Data) {
     print(deviceToken.hexEncodedString())
 }
大功告成!
请保持转载后文章内容的完整,以及文章出处。本人保留所有版权相关权利。